Books I have read and recommend.

Monday, June 9, 2014

Quatre Bras Refight with FoG:N

ABOVE: The Battlefield at the commencement of the game.
This weekend myself and two friends decided to play a refight of Quatre Bras. With a FoG:N tournament approaching we decided that these rules would be an excellent set to use to fight the battle.
Arnaud (as usual) commanded the French Corps and would be Marshal Ney. Tyler would play the part of William, Prince of Orange and Wellington (on his arrived on the Battlefield).
The Orders of Battles I obtained from HERE.
To make the battle less predictable and more interesting I set up all of Ney's forces on the field with the exception of Jerome's Division arriving on the 2nd turn. The French heavy cavalry would arrive only on a roll of 4,5 or 6 on turn 3, on a roll of 3,4,5 or 6 on turn 4, and 2,3,4,5 or 6 any turn there after.
The Allies would start with only Perponcher two divisions on the field with all the other divisions of I Corps arriving over the next turns one division at a time
Viscount Hill's Corp, (II Corp) would arrive the next turn after the last of I Corps divisions with each division arriving as follows after rolling anything other than a 1 or a 2:
On a roll of 1 or 2 The Corps Cavalry
On a roll of 3 or 4: Sir Thomas Picton's Division
On a roll of 5 or 6: The Brunswick Infantry.
Simply put when the last of the 1st Corps arrived we roll a D6. As long as a 1 or 2 wasn't rolled the Corps commander would arrive with Wellington (Exceptional 'Charismatic') who would replace the Prince of Orange (Competent 'Charismatic').
Now another D6 was rolled. If a 1 or 2 was rolled then the following divisions from 2nd Corps would not arrived, assumed to be caught up in the traffic jam on the road leading to Quatre Bras. If a 3,4,5 or a 6 was rolled then another D6 was rolled to see WHICH division arrived.
Simple!
 ABOVE: The initial Allied deployment.
BELOW: The buildings of Quatre Bras.
 The battle opened with the two French infantry divisions advancing cautiously towards the Dutch Belgian lines. The French cavalry (a small brigade of lancers and a large brigade of Chasseurs) and their artillery support made a wide sweeping flanking move on the allies left flank.
Fortunately for the Allies just at that time the British Guards brigade arrived and quickly moved off the road to cover the allies' left flank.
This flanking movement from the French soon fizzled out to nothing. The French effort now switched to the Dutch Belgian brigades in the center to the west of the Charleroi - Brussels road.
BELOW: The French Lancers and Chasseurs a Cheval that attempted to envelope the Allies' left flank.

 BELOW: The French 5th Division
 BELOW: The French 9th Division commanded by Foy.
 As Prince Jerome's Division moved towards the French right flank in support of the now stalled cavalry movement another British division (LtGen Alten's 3rd Div) arrived consisting of the 5th Brigade of English battalions (the 33rd, 30th, 69th and 73rd Foot) and the Hanoverian Brigade consisting mainly of conscripts. The 5th Brigade moved off to support the English Guards on the allies left whilst the Hanoverians moved to support the Netherlanders and their German kin in the Nassau Brigades in reserve.
 ABOVE: The French 9th Division of Foy, Bachelu's 5th Division and in the distance the French 2nd cavalry Division of Comte Pire.
BELOW: French 2nd cavalry Division of Comte Pire. sweeping towards the allies left flank.
BELOW: The British Guards foil the French Cavalry sweep.

 ABOVE: Sporadic artillery fire in the center.
BELOW: The British Guards. Two Brigades block the French Cavalry.

 BELOW: The Hanoverian Brigade moves down the road. The British 5th Brigade moves up on the left of The Guards.

 ABOVE and BELOW: Action on the Allies' left flank.
 Impatient for a breakthrough and not willing to await the arrival of the Heavy Cavalry division that was a due to arrive Ney hurled the Guard Light Cavalry at the Netherlands Brigades and some Dutch artillery.
The Dutch Militia Brigade were in tactical formation and scrambled to form squares and the Dutch gunners ran to the British Guards for cover. 2000 Guard Chasseurs a Cheval, Mamalukes and Lancers descended upon the Dutch infantry. Their disordered squares were torn apart by the Guards just as the French heavies under General Kellerman arrived to support the developing attack in the centre. 

BELOW: The French Guard Light Cavalry move towards the center.

ABOVE: Foy's Division spars with the Belgian infantry
BELOW: The French Guard Light Cavalry commence their charge.
 After slaughtering the Dutch militia the Guard Lancers charged on again and crashed into the large Nassau Brigade (the 2nd Nassau Infantry Regiment) that was in reserve. Yet again the Prince of Orange's men could only form disordered squares and they too were swept away.
As the the French Guard cavalry was slaughtering the Dutch militia a Nassau Brigade (the 28th Orange-Nassau Regiment) was busy driving off Husson's 1st Brigade from Bachelu's 5th Division who had been caught withdrawing after a failed assault on the British artillery.
 The Allied cavalry division arrived as the French Guard cavalry had started their advance and moved off to the east in an effort to envelope the French cavalry that had now stalled in front of the British Guards.

BELOW: The all conquering Guard Lancers destroy all in their path.
 The situation was now as follows:
The French cavalry envelopment of the Allies left flank had stalled thanks to the British Guards and was now itself in danger of being enveloped by Dutch Belgian and Brunswick Cavalry.
The French Guard Light Cavalry Division had smashed both a Dutch and a Nassau brigade and was pouring into the centre whilst a Nassau Brigade had counter-attacked on the East side of the Charleroi - Brussels road and driven off a brigade of French infantry.
On the allies right flank very little had happened at all apart from the batteries exchanging some round shot.
Wellington now arrived on the battlefield to take over from The Prince of Orange. The large Hanovarian brigade was place in the center.
The Nassau brigade that had driven off the French 1st Brigade was now itself taken in the flank by counter-attacking French infantry and destroyed.

 The French Guard Chasseurs a Cheval now wheeled right and overran a battery whilst the Guard Lancers wheeled left and took the Belgian brigade in the flank and destroyed them on the edged of Bossu Wood. Only the 27th Jagers remained of the 2nd Netherlands Division!
BELOW: The Belgian Infantry Brigade is taken in flank by the Guard Lancers.
 Now the French Heavies came into action. The Cuirassiers and Dragoons charged through the gaping hole made by the Guard Light Cavalry and came charging onto the Hanovarian militia in the center.
An all to familiar pattern emerged. The Hanoverian militia failed to form solid squares and were run down by the French heavy cavalry. The British had deployed the 5th Brigade behind the Hanovarians but they suffered the same fate as the Dragoons followed through onto them. As had happened in the real Battle of Quatre Bras the British 5th Brigade had been cut to shreds by French Heavies,...


 ABOVE and BELOW: The Hanoverians meet their fate.

All the while the remaining divisions of the allies 2nd Corps had failed to arrive.
At this point Wellington conceded defeat and ordered the remains of 1st Corps to retreat towards Brussels.
It was a excellent game. The failed arrival of the Allies 2nd Corps sealed the fate or Orange\Wellington though if any of the Germans or Dutch had formed solid squares they might have held on long enough for the 2nd Corps to arrive and save the day.
It just wasn't meant to be.
Oh well,....

 ABOVE and BELOW: The destruction of the British 5th Brigade.


As usual, feel free to leave comments.
Cheers

UPDATE:
Eric asked a question that deserves a fuller explanation:
"Why do you refer to the units as Brigades when FoG:N says the units represent 'Regiments'"?

Hi Eric
I refer to the units as Brigades because that is what they are. The authors of FoG:N (for reasons I'll never understand) say the units represent Regiments. The truth is rarely did entire Regiments take to the field. Normally it was Battalions FROM regiments that would come together to form Brigades (a collection of Battalions). Let's look at a FoG:N unit in this battle. The Allied (Brit) 5th Brigade for example. 
To make a small unit in FoG:N (1200 to 2000 men) then we have 1 battalion from each of the 30th, 33rd, 69th and 73rd Foot each providing an average of about 500 men. NOT a Regiment at all. Actually 4 battalions from 4 different regiments. Now look at the French 1st Brigade from the 5th Division. 4 battalions from the 2nd Light Inf Regt and 2 battalions from the 61st Line for a total of just over 3000 men (a LARGE unit). Again, 2 different Regiments. To try and create two 'Regiments' would result in a SMALL 2nd Light Infantry but not enough (only 800 men) to make a SMALL 61st Line Regiment. So I settled on a LARGE Light Infantry unit with a SKIRMISH element due to the preponderance of Light Infantry from the 2nd Light Infantry.  
By contrast the 2nd Brigade of the  2nd Netherlands Brigade consists of 1 LARGE unit made up of 3 battalions from the 2nd Nassau Line regiment with a total of 2600 men! 
Oh and all the miniatures are either AB Miniatures and a handful of Fantassin / warmodeller figs.
I'd use FoG:N if you are trying to fight the whole battle or Lasalle if you want to fight just a part, like the fighting around Bossu Wood.

Wednesday, June 4, 2014

AB Miniatures: Netherlands High Command and Light Dragoons

 Hi Guys
I had a great time at LITTLEWARS in Melbourne last weekend.
Whilst there I picked up from Nic at EUREKA MINIATURES the latest additions to my Dutch Belgian 1815 collection.
Here we have the ADC set consisting of an ADC and Guide. Both a beautiful miniatures with the ADC handing over a message
 But for me the 'One Piece' casting of William, Prince of Orange is just magnificent.
He's accompanied by Baron Jean Victor de Constant Rebecque, a two piece casting of rider and horse.

 As you can see from these photos the detail and posing is simply brilliant.
I intend to base Prince William and Baron Jean Victor de Constant Rebecque with the ADC and Guide and a couple of British Officers including an ADC from the British 9th Light Dragoons.
I also collected some Dutch Light Dragoons. Again these are up to the usual superior standard that one can take for granted when purchasing AB Miniatures. There are both 'Charging' and 'Resting' poses. I have one 12 figure unit of each. Pictured below are just some of the charging poses.

I'll get around to posting photos of the finished painted and based collection soon I hope.
Cheers

Monday, June 2, 2014

Longstreet Campaign battle number 4

Hi Guys
Stan and I played the fourth game in our LONGSTREET campaign.
The date is now 2 March 1863 and the Union forces have had the better of the fighting winning the initial battle in 1861, losing early in '62 but bouncing back to a victory in late '62.
What follows is the After Action Report for game number 4.
Rawlins' Brigade was moving moving again in Confederate territory.
The Virginian countryside was yielding good supplies for the foraging parties. The new regiment (the 44th NY) had arrived as had the Rifle armed US 2nd Artillery. The 1st Minnesota had joined the Brigade back in late 1862 but hadn't fought at Damp Wood. Their Colonel had requested they lead the next attack the Brigade might be called on to execute. Little did he realise that Brigadier Rawlin had already identified the Regiment to be his main effort for the up coming battle.
The Brigade was tasked to secure the crossroads at the small town of Broadfordsburg.
As the scouts arrived back at Brigadier Rawlin's HQ is was apparent that they would have to attack the Confederates who were deployed behind a walled farm.


After the battle the Union Brigade now looks like this:

INFANTRY REGIMENTS

11th NY Fire Zouaves: Seasoned Veterans 6 bases

The Provisional 14th Brooklyn & 1st Marines: Eager Veterans 6 bases HERO!

1st Maine Heavy Arty: Eager Veterans 6 bases HERO!

The Utah Volunteers: Eager Veterans 6 base

44th New York: Seasoned Recruits 6 bases 
28th Massachusetts infantry: Seasoned Recruits 10 bases


ARTILLERY TROOPS
5th US Artillery Company. 2 bases (1 6pdr gun & 1 Howitzer)
9th US Artillery Company. 2 bases (2 x Howitzer)
2nd US Artillery Company. 2 bases (Light Rifles)

Reinforcements:
44th New York Infantry: Seasoned Recruits 6 bases.

28th Massachusetts infantry: Seasoned Recruits 10 bases
6th Massachusetts Artillery Company:  2 bases (Light Rifles)

As for EPIC POINTS, Brig Rawlin's total is now 11 (3 from each previous battle and 2 for Broadfordsburg) and he had achieved one Promotion (after the 2nd battle).

There was some additional good news for the Brigadier. His Beautiful young wife had recently inherited a small fortune from an old uncle in New York. He was now WEALTHY (a extra biography card that would help in securing Promotion). She arrived at his HQ to deliver the news in person.

Furthermore the Brigade would have PRIORITY supplies for the next engagement and again the Federals had obtained some valued intelligence on the Reb's movements (a BROKEN CODE card).

Total EPs 11.
3+3+3+2+
Promoted to 2 Eagles (Brigadier General) 
Stan and I also decided on a new HOUSE RULE:

BAD SURVEYING: Can not used in the enemy deployment zone and can not be place in an area between a enemy and TARGETED friendly unit once that those units are within 16cm of each other.

Sunday, May 25, 2014

FoG Napoleonic at LoA

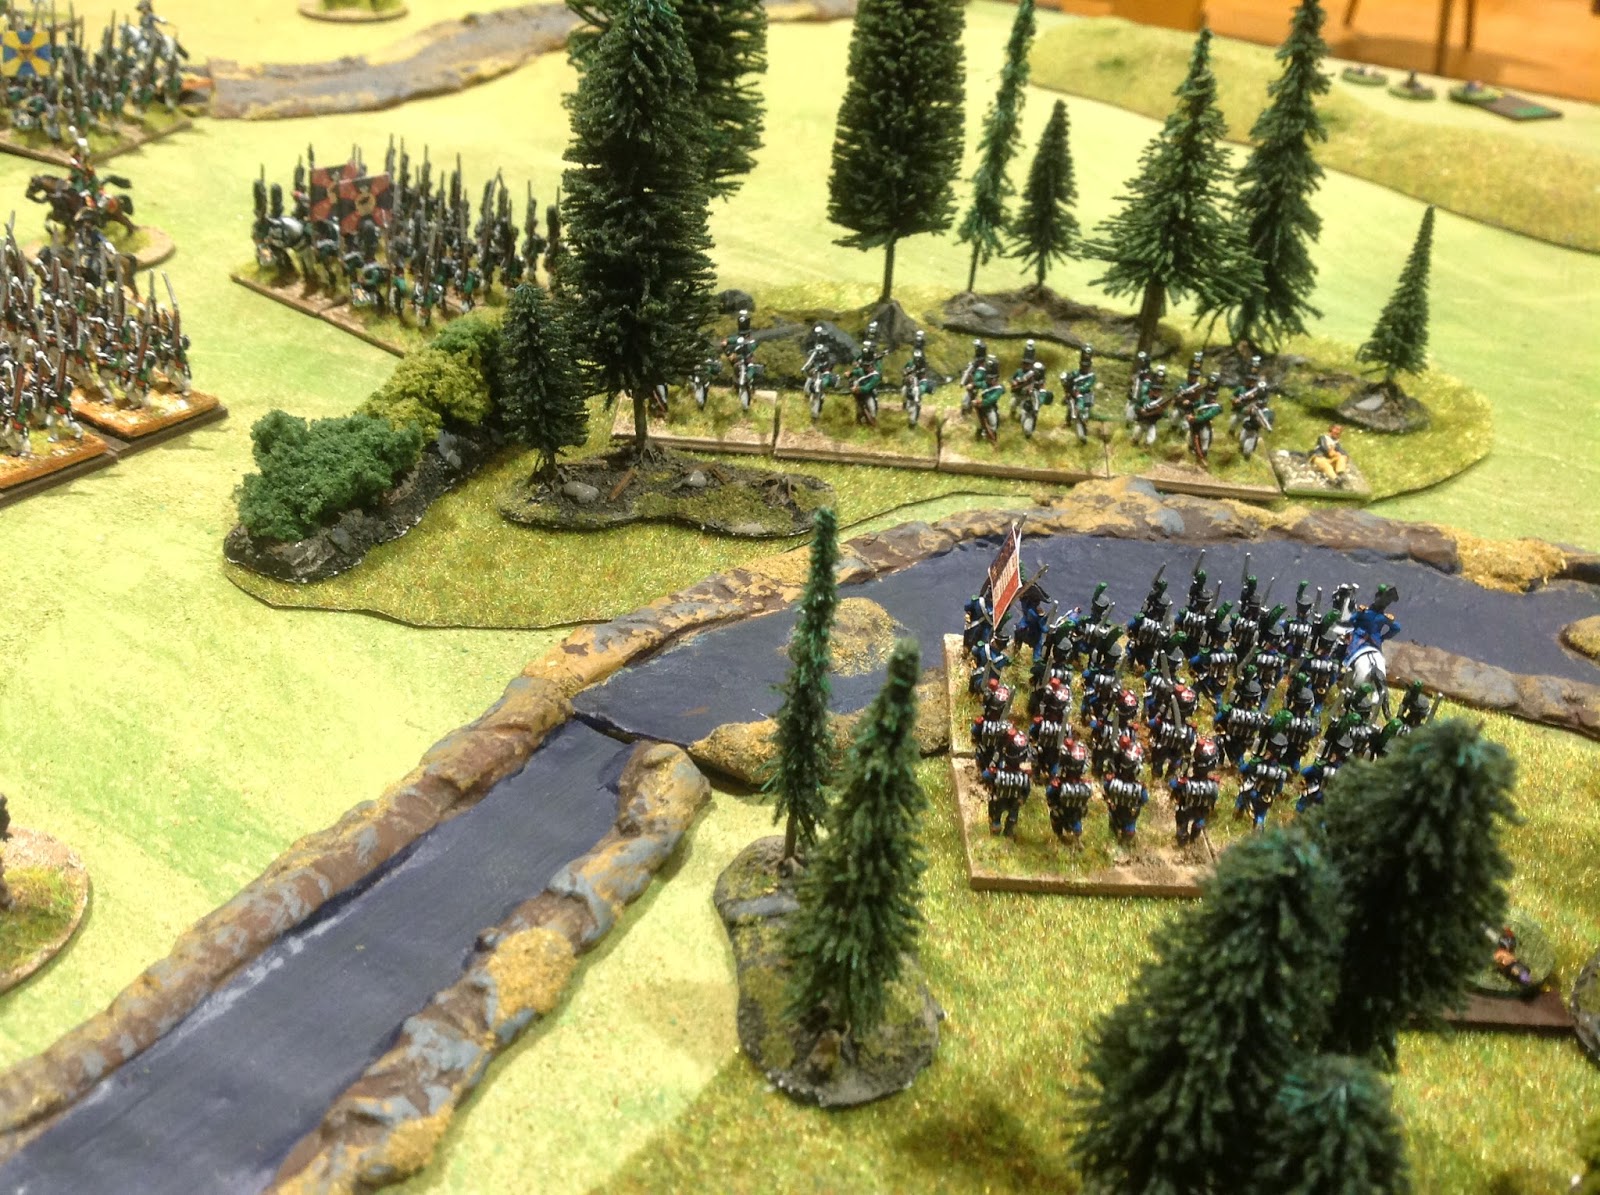
ABOVE: French Light infantry attempt to cross a stream in the face of Russian Jagers.
Hi Team
About a week ago I got together with my good mate Arnaud for a game of Field Of Glory, Napoleonic (FoG:N) at The League of Ancients (LoA) in Melbourne.
We were both keen to blow the cobwebs away and have a crack at these excellent rules that fall neatly into that gap between Battalion and Grand Tactical level rules where you manoeuvre 'Regiments' or Brigades within the scope of a Corps Commander.
It had been over a year since either of us had played and with a FoG:N tournament being hosted by the LoA in July we both wanted to get back into the swing of things.
We made a few mistakes with the rules but hey, that's why were wanted to play a test game.
We had both also forgotten what a cracking good game FoG:N is.
 Arnaud and I decided to play a 800 point per side battle. I opted for a Russian Advance Guard Corps of 1806 while Arnaud ran a French Infantry Corps of 1805.
I won't give a blow by blow AAR but suffice to say we both made plenty of mistakes with the rules. Fortunately there were plenty of LoA players who were more 'current' with the rules and helped out as needed.
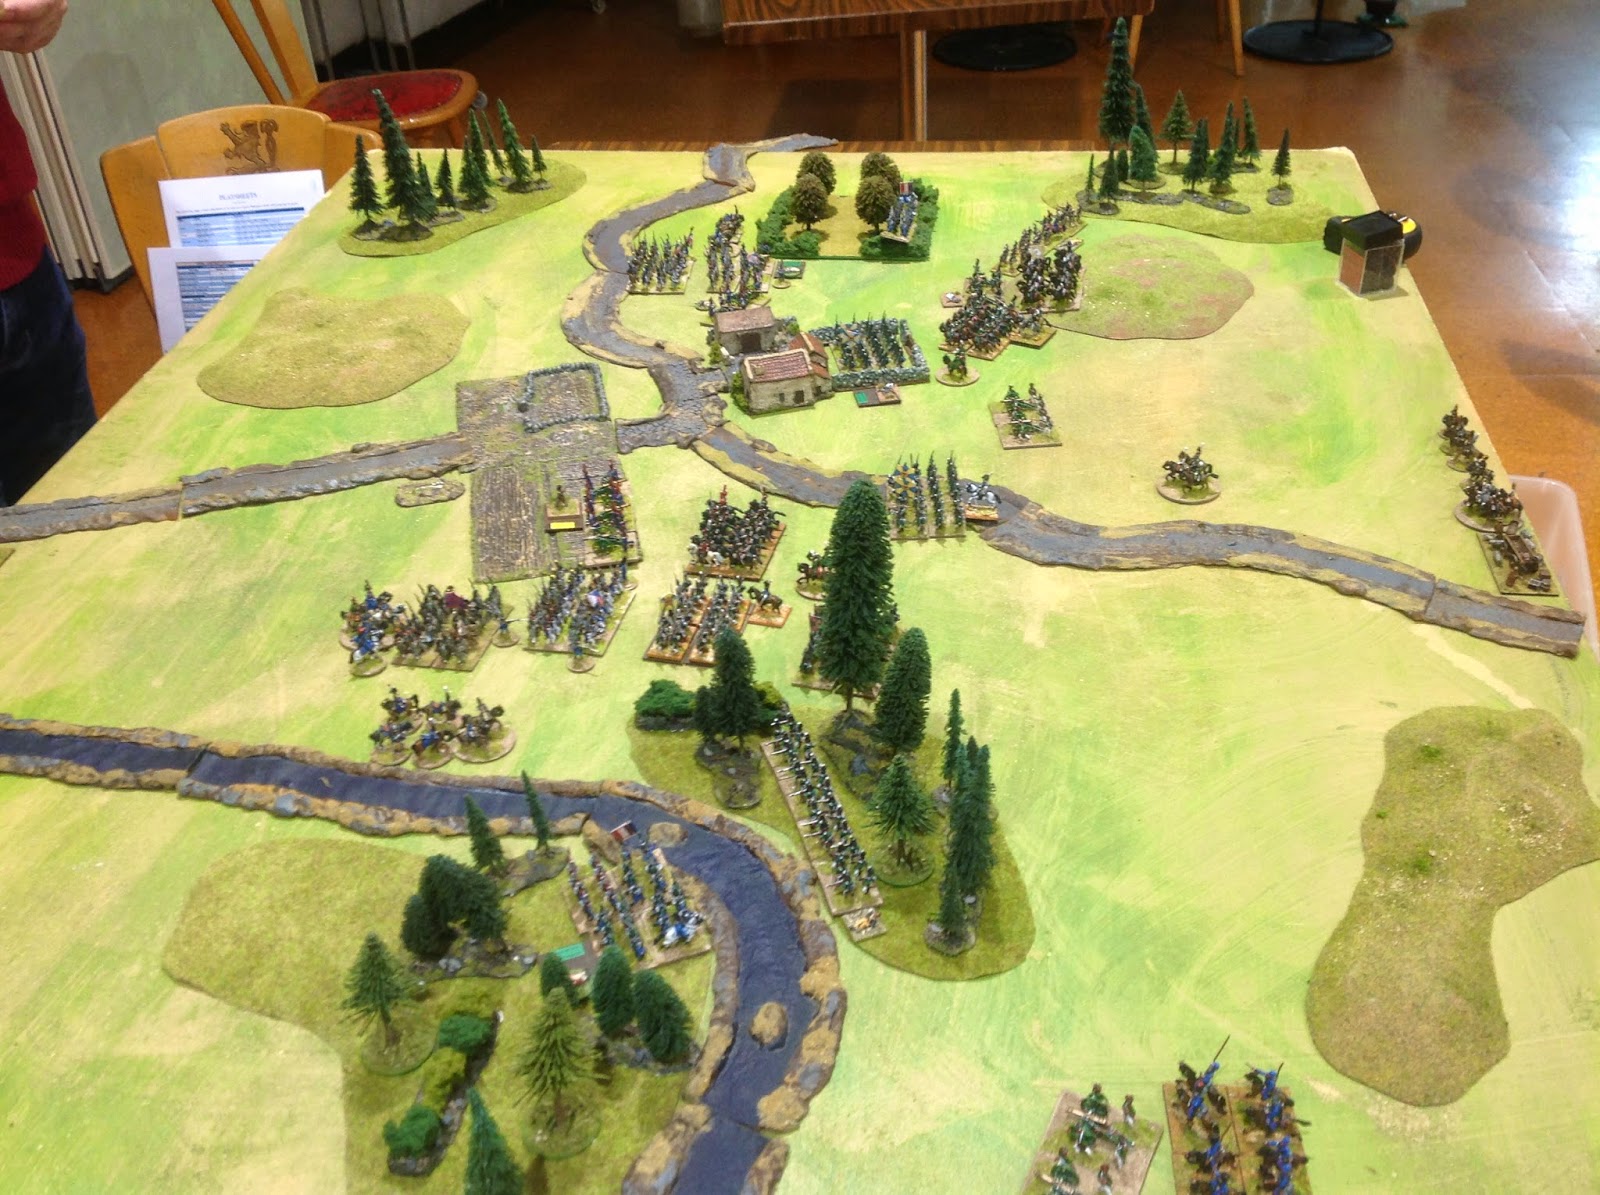
As for the actual battle,... Arnaud planed to demonstrate in the centre and attack on the flanks. As we all know however what you demonstrate with needs to be sufficient to be of concern to the enemy.
As the French attacks on my flanks developed (actually the only real concern was on one flank, my right) I launched an assault of my own at the French centre.

ABOVE and BELOW: The Russian Right (above) with the Cavalry Reserve of Dragoons and Cuirassiers and Horse Artillery and Centre (below)
BELOW: The Russian left flank. Conscripts in 'Square Formation' with a Battery and Cossacks in support

BELOW: Fighting erupts on the Russian Right Flank
BELOW: French pressure builds on the Russian left.
BELOW: The Russian attack in the centre goes in! Grenadiers supported by Russian Light cavalry and Artillery. Flanked by Russian Jagers on the left and a Division of Infantry and the Cavalry reserve on the right. The French are spread to thin,...
BELOW: French light infantry and Russian Jagers face off across the stream. These two brigades face off each other the entire battle.
BELOW: The French Light Cavalry division. Spectators for the entire battle. I suspect Arnaud wished he'd used them in the centre.
BELOW: The Russian assault closes with the thin French 'Assault' in the centre.


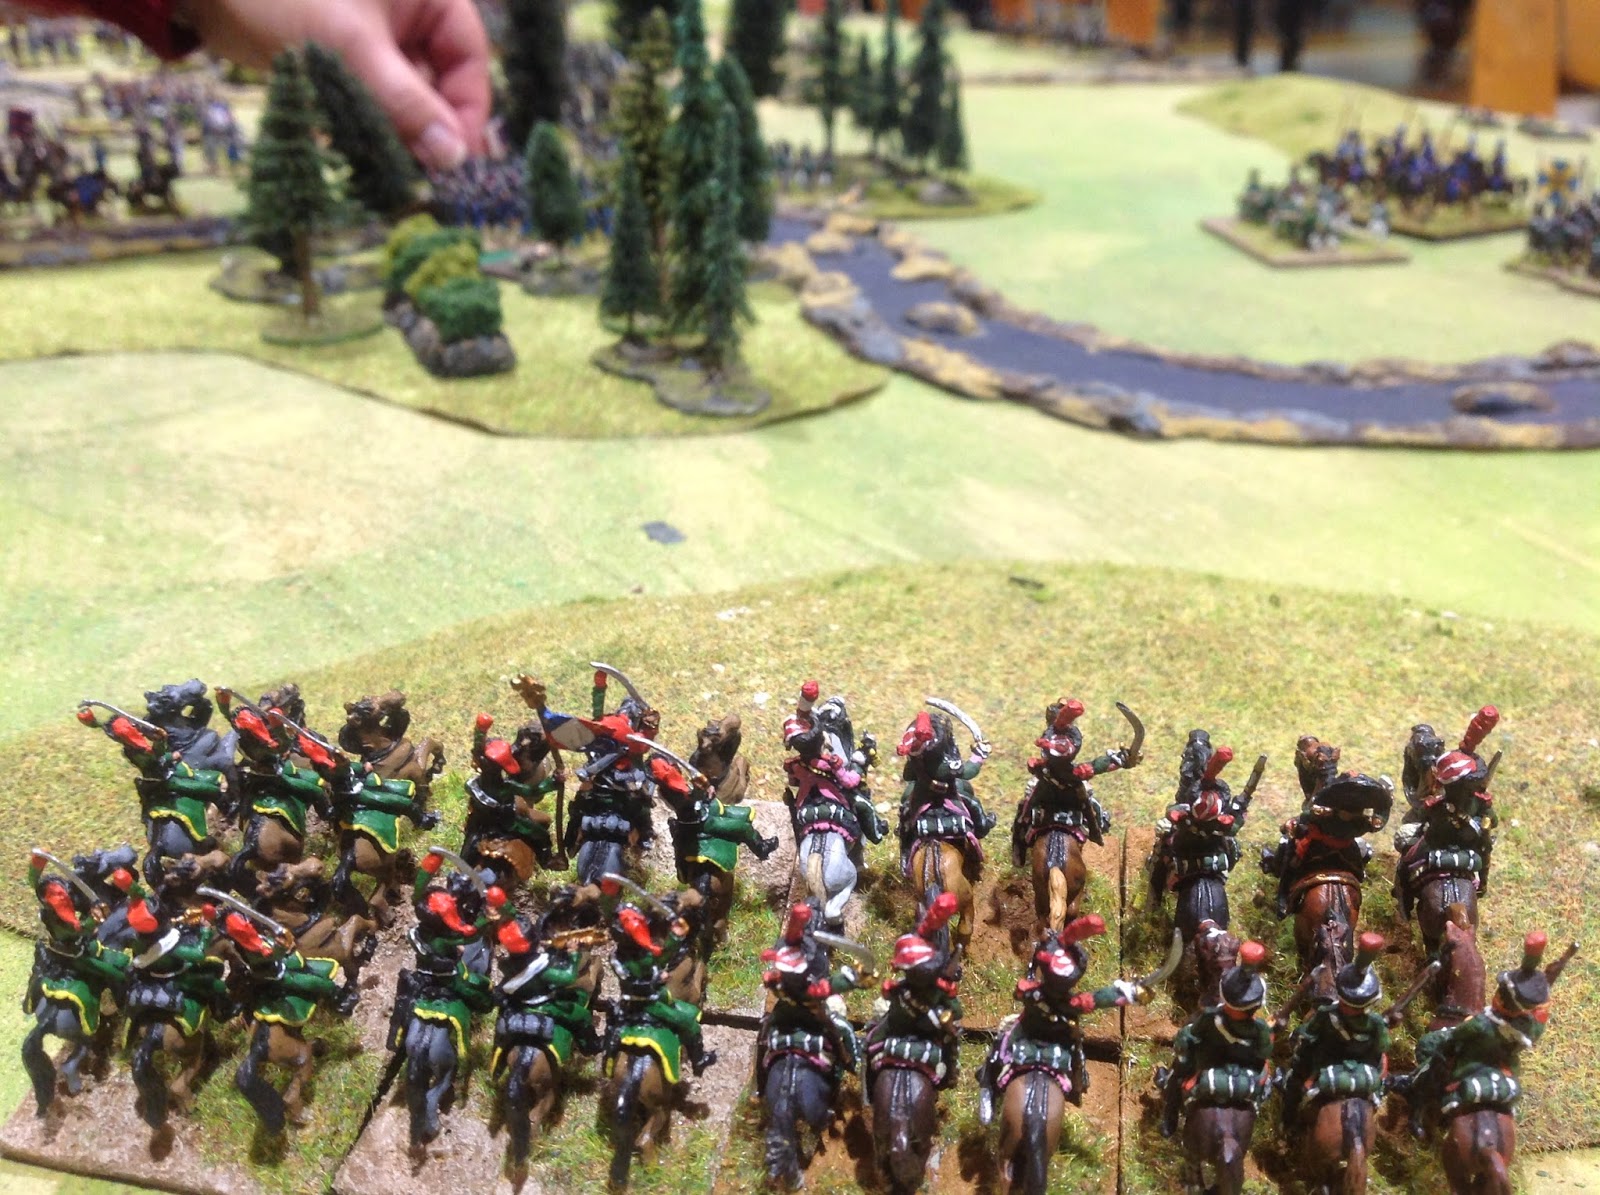
BELOW: After the Russian success in the centre the Russian Reserve cavalry attacks on the right, smashing through the French brigade between the orchard and village.
BELOW: The French failed to form 'Square' with predictable results.
BELOW: End Game!
Conclusion:
Arnaud and I had forgotten what a great game FoG:N gives you.
Like I said, we made some mistakes with the rules but we cant wait to play again.
The LoA will be hosting a FoG:N Tournament in July and I'm keen to give my Dutch Belgian Reserve Corps of 1815 a run. A sea of crud but a pretty army.
Until then, keep your powder dry.
As usual, comments are welcomed.
Cheers

Tuesday, May 6, 2014

Damp Wood! Longstreet Campaign Battle No 3.


The dawn broke over the small stream that ran along the front of the tree line before rolling into the leafy forest.
Men in blue coats quickly finished filling canteens and returned to their 'Colours' as drums beat a call to arms.
The Union troops finished badly cooked breakfasts and packed away tents.
After their defeat at 'The Cornfield' in June the Union Brigade had withdrawn north back to join Pope's Army of Virginia. They had not been present at the debacle at 2nd Manassas and had now become part of the Army of The Potomac.
The Brigade was now operating again as an independent Brigade tasked with defending the logistic centre near Boonsboro
Now as the Union army under command of 'Little Mac' went into action at Antietam Rawlin's Brigade was preparing to defend the town supplies concentrated nearby from a rouge Confederate Brigade that was approaching from the north west. Were they intending on raiding the supply depot or were they simply hurrying to the sound of the guns blazing away near Sharpsburg?
It really didn't matter why the Confederates were there, only that they were there and looking for a fight.


 Across from the federal position the confederate brigade prepared for battle. Their artillery was positioned so as to provide fire support to the massed Reb infantry. It was apparent to the union commander, Brigadier Rawlin, that about 3000 rebel infantry intended to advance on the center of the union line via the woods and broken ground in the center of the field of battle. The rebel cavalry appeared to be tasked with protecting the rebel artillery just in case the Yankees decided to go on the offensive, or maybe exploite some opportunity if it presented itself.
"We will keep the Marines in reserve" Brig Gen Rawlin gestured to an aide and his horse was brought to him. "I expect the Rebs wil fall on our center. The 1st Maine and the 11th New York will meet them. I will use both batteries to fire into the flanks of their assaulting columns as the come on as I know the will. The 14th Brooklyn will counterattack the left of the enemy attack and the new boys from Utah will strike the right. The cavalry will hold our right flank. Hopefully the 1st Minassota will arrive soon, but we need to be ready to fight this day without them. Those people over yonder mean to drive us off. They're arrogant people. Today we must stand firm"!
Rawlin settled into his saddle. "I'm confident we will prevail men, with or without Minassota".

 BELOW: The Rebel Deployment.


ABOVE AND BELOW: As the Confederates emerge from the small wood they are confronted with an unexpected swamp.
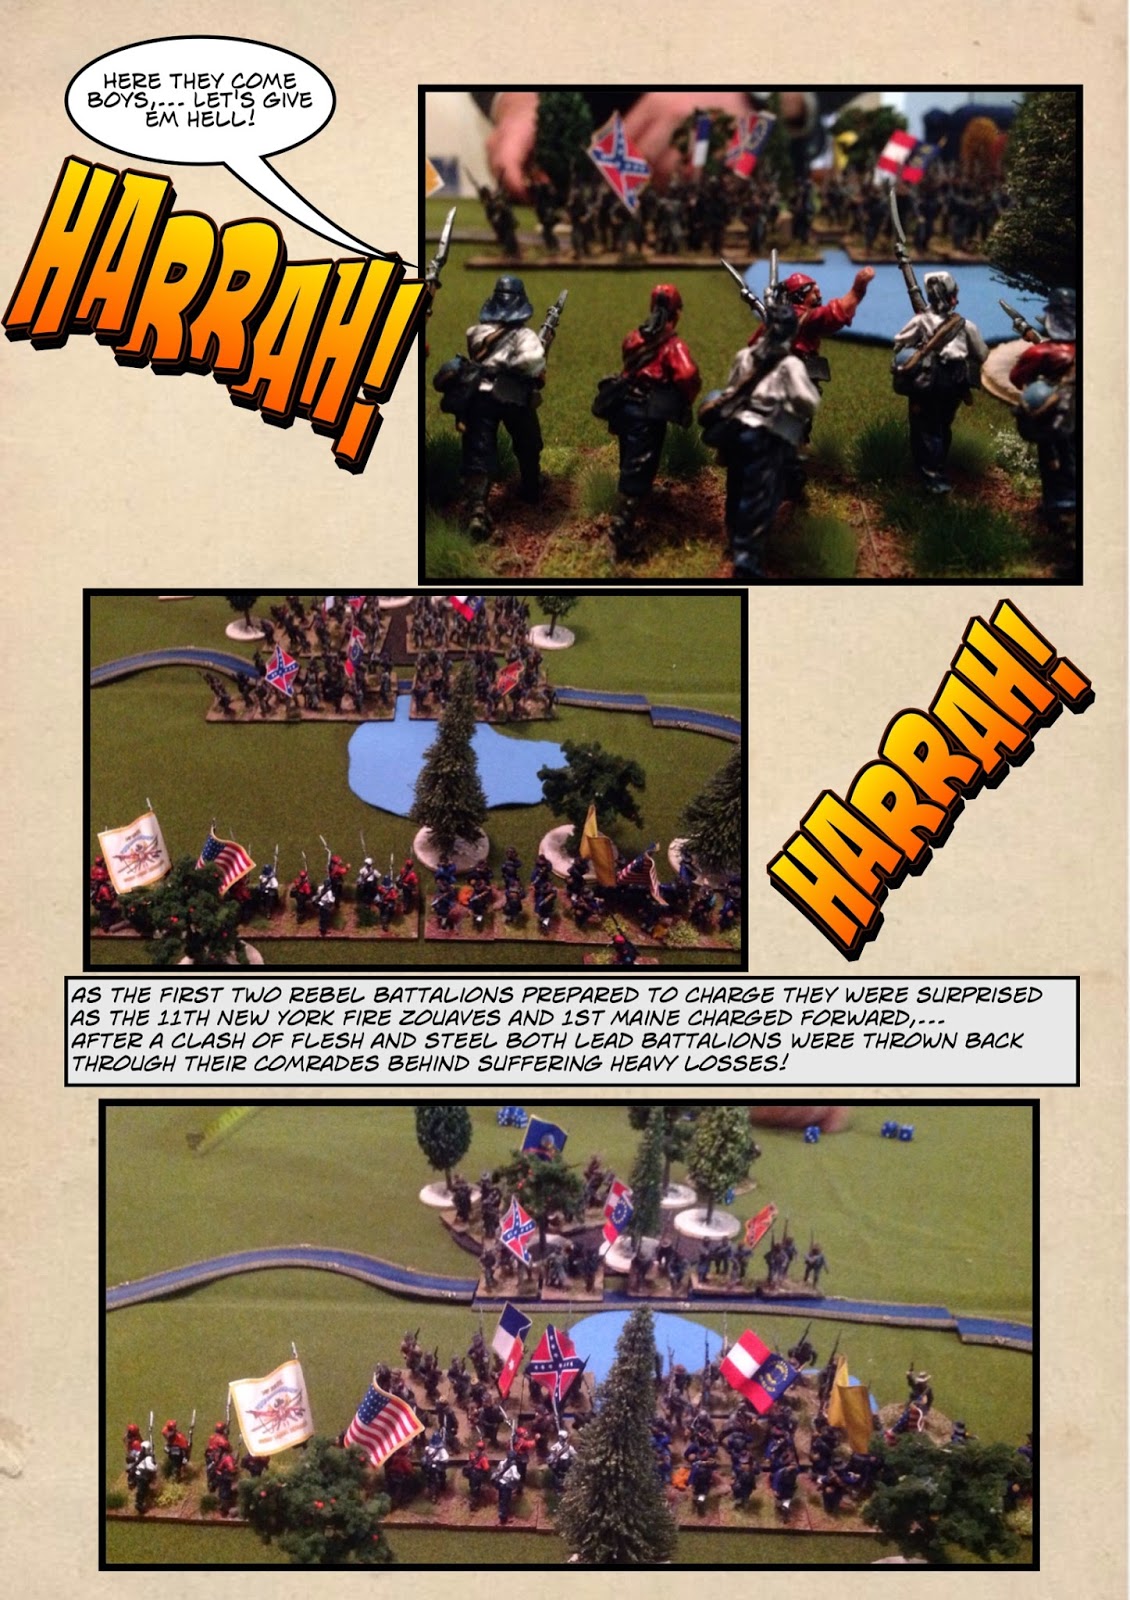
The 11th New York Volunteer Infantry 'Fire Zouaves' lead the charge against the Rebs! The 1st Maine supported them on their right flank!


 During this heavy fight Sergeant (SGT) Clements of the 1st Main (Heavy Artillery) sigle handly slew 4 rebs who attempted the carry away the Regimental Colours of his regiment. Grasping the large yellow flag he yanked it from the grasp of a rebel Corporal and swinging his rifle like a handspike clubbed the Grey uniformed man down. As three more rebs came up to claim the flag SGT Clements picked up a fallen officers sword and ran the first man threw before drawing his revolver and shooting the other two.


It was an tough battle for the Rebs. Even with my largest battion off the table, (the 10 based 1st Minnesota) it was always going to be hard for the Confederates to succeed in driving the yanks away.
After the battle both Brigades reordered themselves and recieved reinforcments and rplacements. As usual sicknes in the camps took as many lives as battle itself.
Brigadier General Rawlin formed a provisional Regiment out of the remains of the US Marines and the 14th Brooklyn with the three remaining companies forming a small 6 company Battalion.
The Utah Volunteers fought like demons, and were upgraded to 'Veteran' status.
News of the arrival of a small Regiment from New York and a 4 gun (2 base) Light Rifle Battery was very welcomed news.
As 1862 slipped into 1863, 'Rawlin's Brigade' now looked like this:
 
INFANTRY REGIMENTS

11th NY Fire Zouaves: Seasoned Veterans 6 bases

The Provisional 14th Brooklyn & 1st Marines: Eager Veterans 6 bases HERO!

1st Maine Heavy Arty: Eager Veterans 5 bases HERO!

The Utah Volunteers: Eager Veterans 6 base

1st Minnesota: Eager Recruits 10 bases

CAVALRY REGIMENTS:
6th US Cavalry: Eager Recruits 3 bases

ARTILLERY TROOPS
5th US Artillery Company. 2 bases (1 6pdr gun & 1 Howitzer)

9th US Artillery Company. 2 bases (2 x Howitzer)

Reinforcements:
44th New York Infantry: Eager Recruits 6 bases.

2nd US Artillery Company. 2 bases (Light Rifles)

As for EPIC POINTS, Brig Rawlin's total was 9. (three from each battle) and he had achieved one Promotion (after the 2nd battle).
Despite his success at this engagment no promotion was forthcoming.

Total EPs 9.
3+3+3+
Promoted to 2 Eagles (Brigadier General)
Stan and I also decided on a new HOUSE RULE:
BAD SURVEYING: Can not used in the enemy deployment zone and can not be place in an area between a enemy and TARGETED friendly unit once that those units are within 16cm of each other.